
How to Sow Native Seeds in Fall and Winter
Native seeds are easy to grow! Learn our simple outdoor winter sowing method for seeds native to the Northeastern US.
Before you start: check the germination code on your seed packet. Some species have special requirements, but all Wild Seed Project seeds can be grown outside in fall or winter.
-
These seeds do not need a winter cold period to germinate. Sow outdoors in pots from November through April.
-
These seeds do need a winter or cold period to germinate. Sow outdoors in pots from November through February.
-
These seeds need light to germinate. Sow them on top of the soil’s surface, and leave uncovered.
-
Seeds need an alternating warm-cold-warm cycle to germinate. Sow seeds outdoors in pots from May through June (warm period). They’ll germinate the following year, after a winter (cold period) and then spring (warm period). If seeds are sown in fall or winter, they will likely take longer to germinate.
-
These seeds will not germinate if they dry out. Sow them immediately.
-
These seeds have a double dormancy and may take two winters to germinate. Sow outdoors in pots from November through February and look for germination in the second spring.
-
These are large seeds that should be soaked overnight in water before sowing.
-
These are quite challenging to sow. Sow spores in a warm, bright location in a sealed container, and keep moist. Further instructions will be enclosed with your package.
When to sow
Best time: Fall through winter
November through February in the Northeastern US
Many native seeds need a period of cold, moist temperatures to break dormancy and germinate. Not all native seeds need cold stratification, but even those that don’t can still be sown outdoors in fall or winter.
Supplies
☐ Native seeds
☐ 4–6" plastic pots or seed frames
☐ Plastic plant labels for each species
☐ Pencil
☐ Organic, compost-based potting soil
☐ Coarse, untreated sand (all-purpose or playground sand without salt)
☐ Watering can
☐ Hardware cloth or screening
Winter Sowing in Six Easy Steps
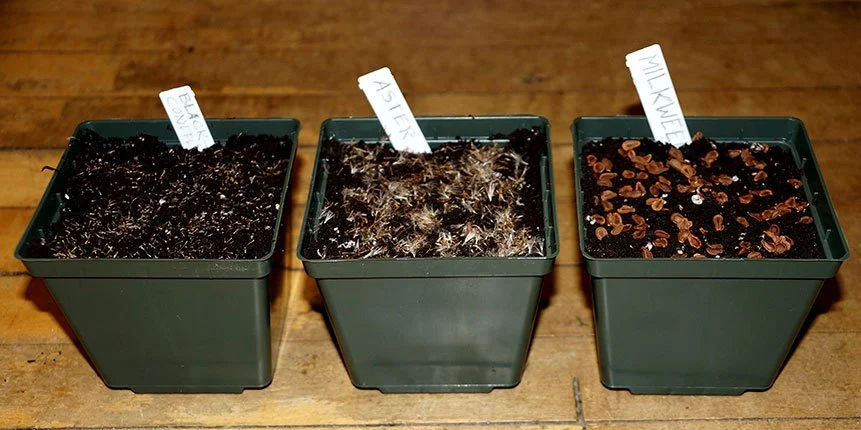
Fill the pots
Fill the pots and pack the soil to create a flat surface ¼ or ½ inch below the rim.Label the pots
Label each pot with the name and sowing date. After many years of experience, we can confidently tell you that pencil lasts longer than any and all pens!Sow the seeds
Native seeds can be sown thickly (close together, about ⅛” - ¼” apart)-- sprinkle them evenly across the surface of the soil, and very gently pat them down. Don’t stress about spacing too much, it’s fine if seeds touch one another.Cover with sand
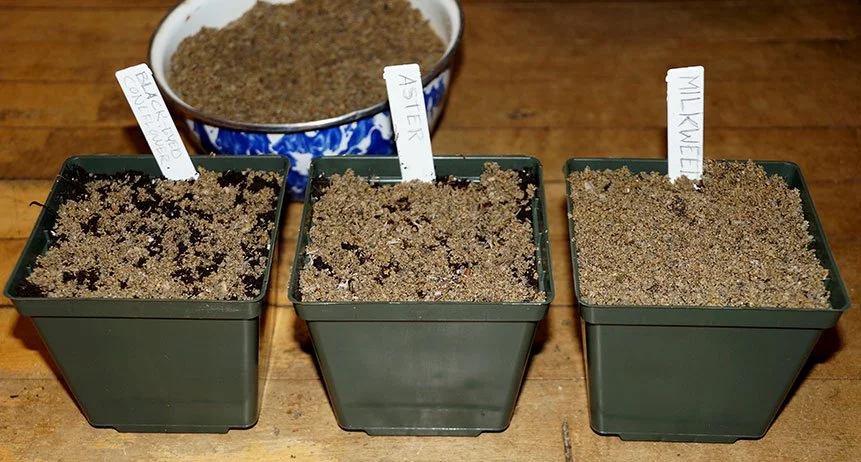
Cover seeds with sand so the layer of sand is roughly as deep as the seed itself: a sesame seed would be covered with ⅛” of sand and a pea would be covered with ½” of sand.Water the pots
Water each pot gently but thoroughly. Be careful not to flood the pots so seeds don’t float to the surface or splash out.
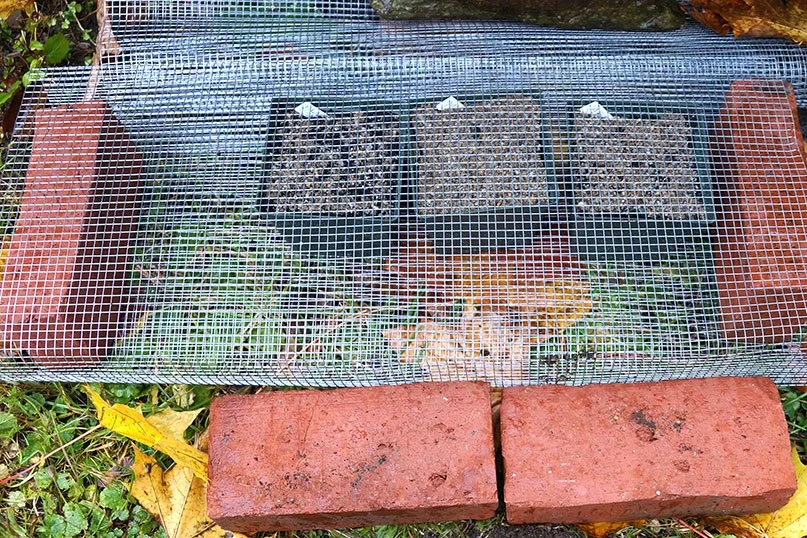
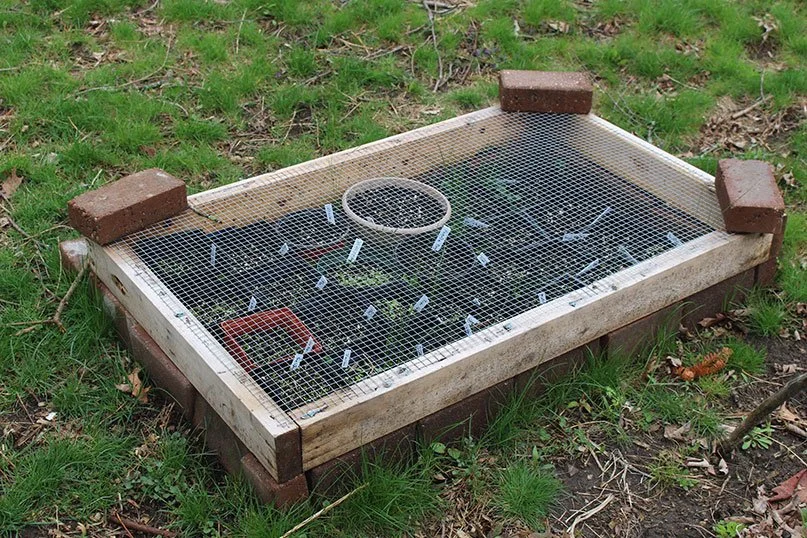
Place outdoors
Put pots in a shady outdoor location where they'll receive rain and snow. Cover them with hardware cloth or screening to protect from birds and rodents.Sowing seeds when temperatures are cool or downright cold cuts down drastically on watering needs. After watering your freshly seeded pot, check moisture levels periodically throughout the late fall, topping up if needed until the soil freezes, at which point, no further watering is needed. In the spring, when temperatures warm, you will want to begin monitoring your pots more regularly, being sure to water during dry and warm periods to maintain moist soil throughout the spring, summer, and fall.
When will my seeds germinate?
Each native seed has its own timetable: germination is variable, unlike cultivated vegetables and flowers which have been bred for predictable germination.
Seeds that need no stratification (exposure to cold, damp winter and spring weather) will germinate anytime from a week to several months after sowing. Species that need cold stratification will germinate after spending their required time in the wet and cold; the length of time varies by species.
Don’t give up too soon. If your seeds did not germinate in year one, keep trying for another year! Keep them watered throughout their second season, following the instructions above, and watch for germination the following year.
What’s next?
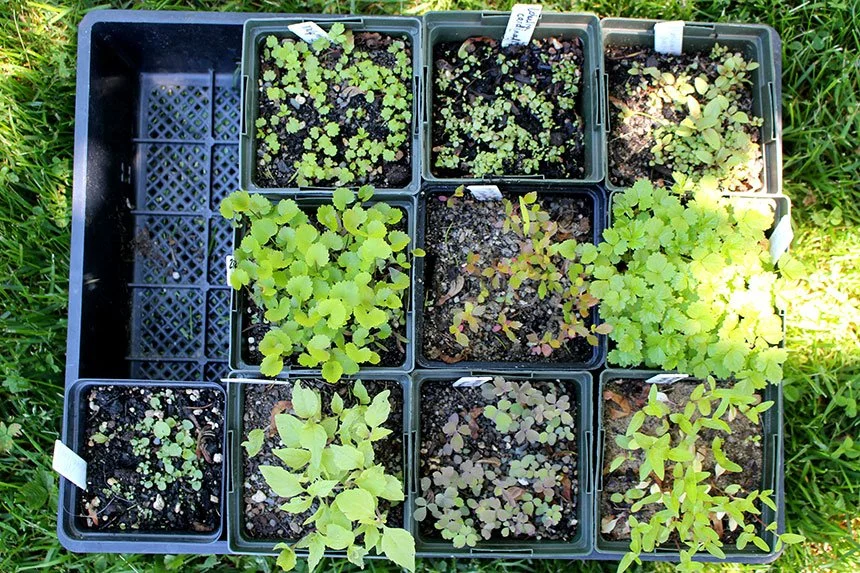
Your seeds germinated! Learn more about caring for young plants, making your own soil mixes, and transplanting into your garden in our guide: Caring for Your Native Seedlings.